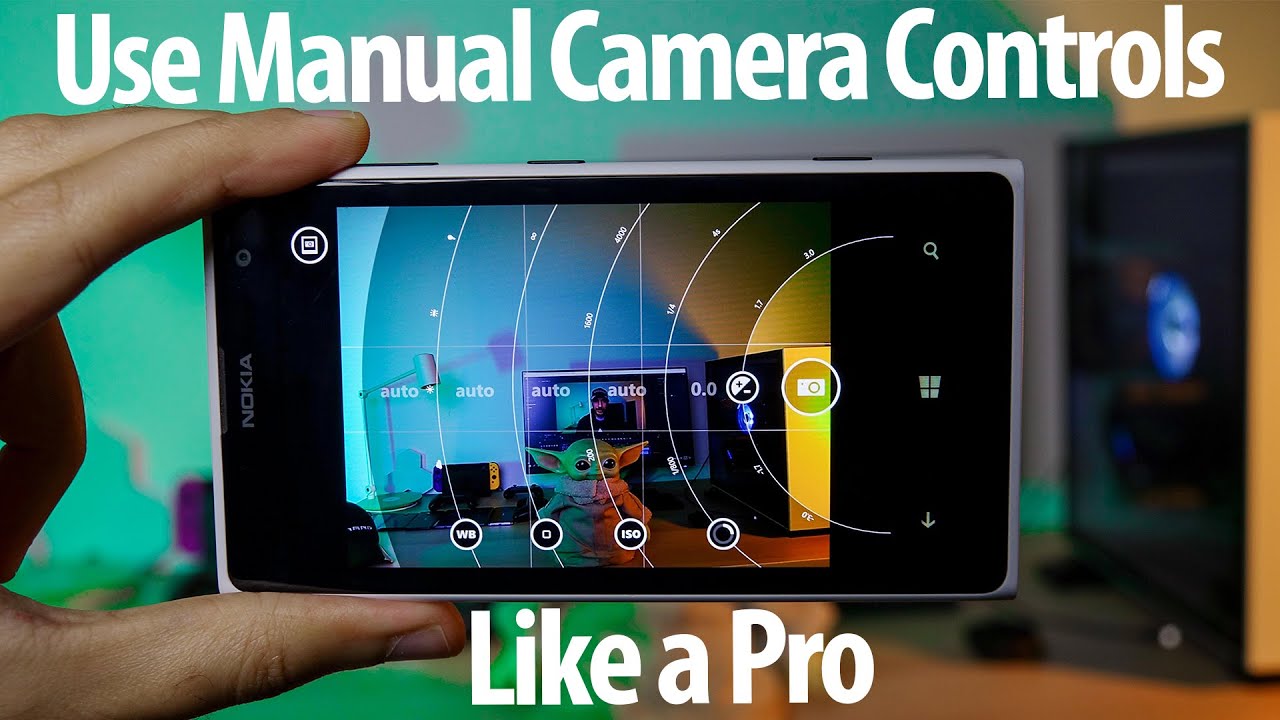
Did you know that you can use your phone’s manual camera settings in order to get better photos? Not only that but you can get much cooler-looking videos aswell just by learning a few tricks.
But do keep in mind that these settings aren’t always easy to understand. You can always read the list of common manual camera settings, what they do, and how to use them to get the perfect shot.
How to Use your phone’s manual camera settings?
Not every phone provides access to its manual camera settings, but many do. Many Samsung phones are compatible with the company’s Expert RAW app, which presents several manual settings.
OnePlus’s recent Hasselblad-branded flagships, like the OnePlus 11, have a RAW Plus camera mode that works similarly. And Sony flagships like the Xperia 1 V do their best to imitate Sony’s dedicated Alpha cameras with the Photo Pro app.
When you tap the shutter button in your phone’s camera app, the camera captures what’s in front of you as it appears to your eyes.
Capturing Photos with Manual Settings
Shutter Speed
While that experience is mostly automatic from the user’s end, the phone does a lot of work in real-time to figure out what the resulting photo should look like. With manual camera settings, you can do that work and customize how your photo looks.
Starting with shutter speed. Shutter speed is a measure of how long your phone’s image sensor gathers light to create a photo.
Shutter speed is represented as a fraction. For example, 1/60 means the image sensor gathers light for one-sixtieth of a second.
Slower shutter speeds gather more light. A photo taken at a shutter speed of 1/100 is brighter than one taken at 1/500.
ISO
The ISO setting adjusts how sensitive the image sensor is to incoming light (ISO stands for International Organization for Standardization, a term that dates back decades to film photography).
Higher ISOs result in brighter images and increased noise, the sort of discolored, grainy quality seen in some photos taken in dark settings. A low ISO results in a darker photo with less visible noise.
White balance
White balance (often abbreviated WB in manual settings) controls the color temperature in your photos. It’s measured in Kelvin (abbreviated as K).
Setting the white balance to a lower number makes a picture visibly cooler (more blue). Setting the white balance higher makes the image warmer (more orange).
Different light sources emit light in different colors. Outdoor light on a sunny day doesn’t look the same as indoor light from artificial sources, and different types of light bulbs produce differing colors of light.
To get a natural-looking image, adjust the white balance to compensate for the lighting conditions you’re shooting in.
Focus
Smartphones generally rely on autofocus to pick which part of the frame should be in focus. You can tap other areas to change where the camera focuses, but using manual settings lets you dial in focus with more granularity.
Manual focus is controlled with a slider. The low end of the slider sets the plane of focus close to the camera. The high end focuses far away. Manual focus might be an appealing option when trying to get a sharp photo of something that’s too small for autofocus to reliably zero in on.

