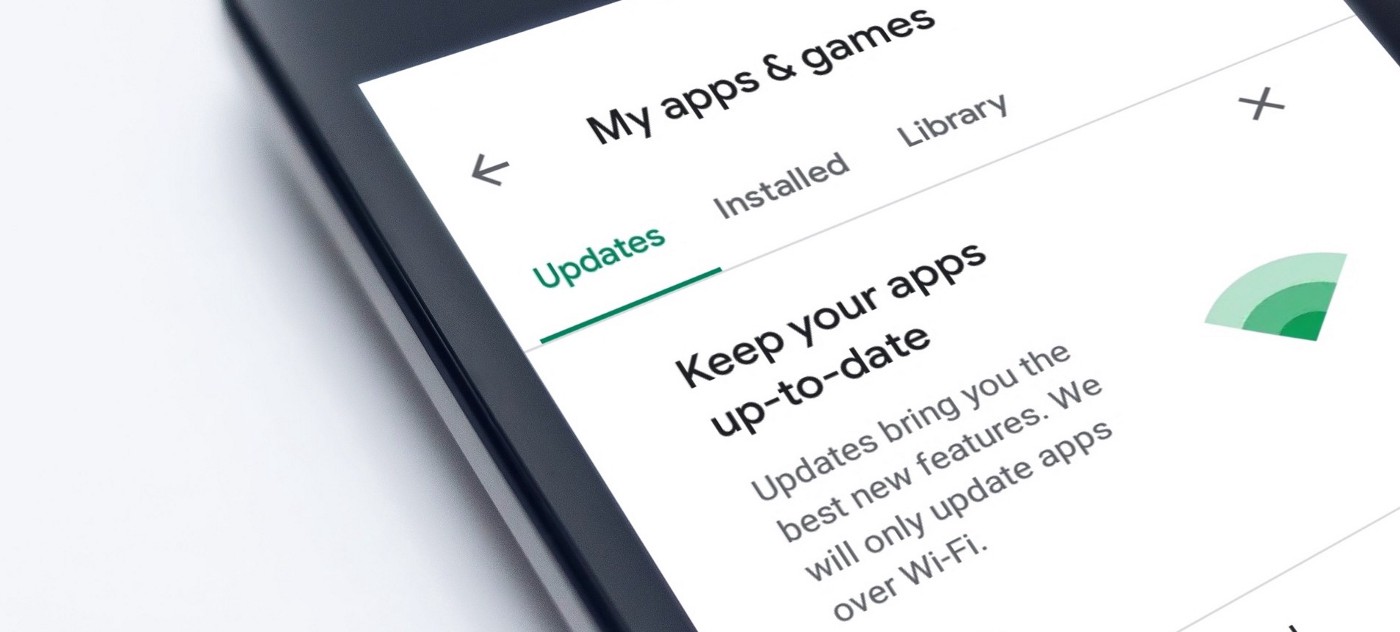
Running out of space or internet plan? Learn How to Disable Automatic Updates so that you can manage and update apps on your own time. Did you know that the apps installed on your phone that you downloaded from the Google Play Store on your Android phone are automatically updated, and that is done by default?
You can always review the updates before they happen. And if you want to give the updates permission first, you can choose to disable automatic updates. But before you disable keep in mind that software updates are important through which your apps get security patches.
And only after getting updated your apps are able to offer you the latest features. And keep themself and your phone secure from external hacks.
How to Disable Automatic Updates on your Android phone?
To disable automatic updates for all apps. Open the Google Play Store on your Android phone or tablet. Tap your profile icon in the top right. After that, select “Settings” from the menu.
Here you will see the option called Network preferences. Expand the “Network Preferences” section and select “Auto-update Apps.” Here you will have to choose “Don’t Auto-update Apps” from the pop-up menu and tap “Done.”
You can also choose a single app to stop itself from Auto-updating. Open the Play Store and navigate to an app you don’t want to automatically update. Tap the three-dot menu icon in the top right of the select app. Now unselect “Enable Auto Update.” And now you have disabled the app from updating itself.
Single app auto-update off might be a better solution as compared with switching off updates for all apps. Including the vital system apps that need important security patches to keep your phone running smoothly and safely.

